How to Treat Driftwood: A Comprehensive Guide
Share
How to Treat Driftwood: A Comprehensive Guide
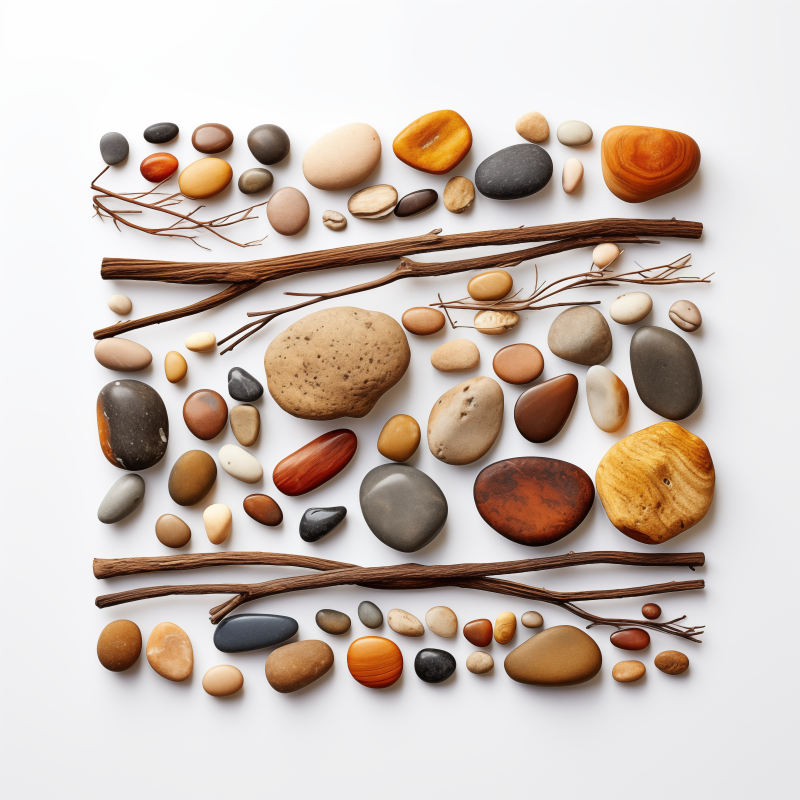
IntroductionDriftwood is a beautiful, natural element that can add a rustic or coastal touch to any room decor. However, before incorporating it into your home, it's essential to know how to treat driftwood properly. In this guide, we'll walk you through the step-by-step process of treating driftwood, ensuring it's safe and long-lasting for your DIY projects.
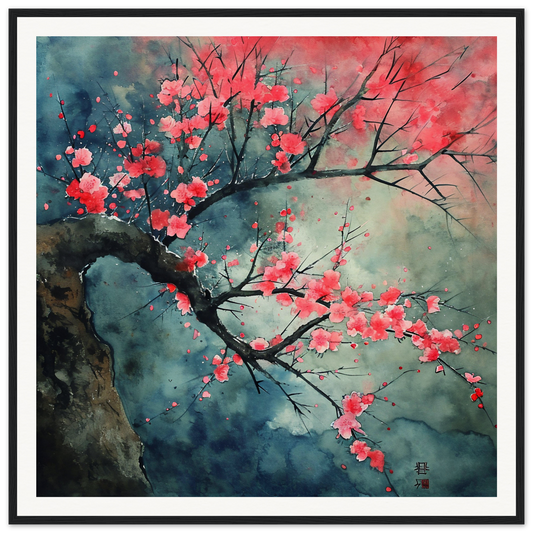
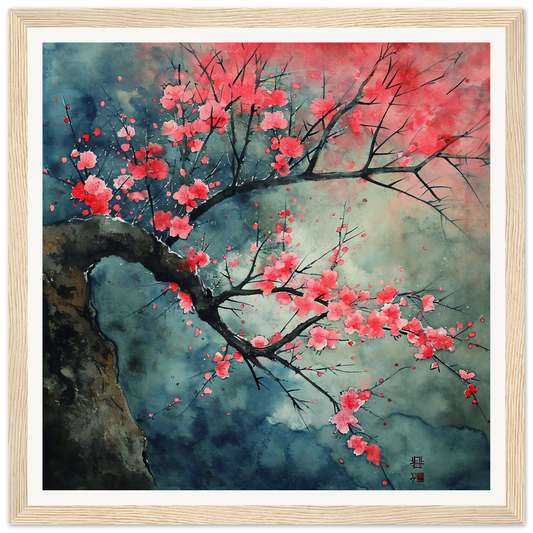
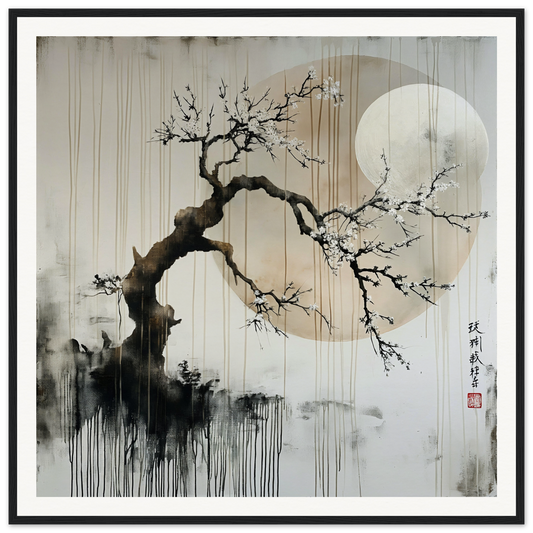
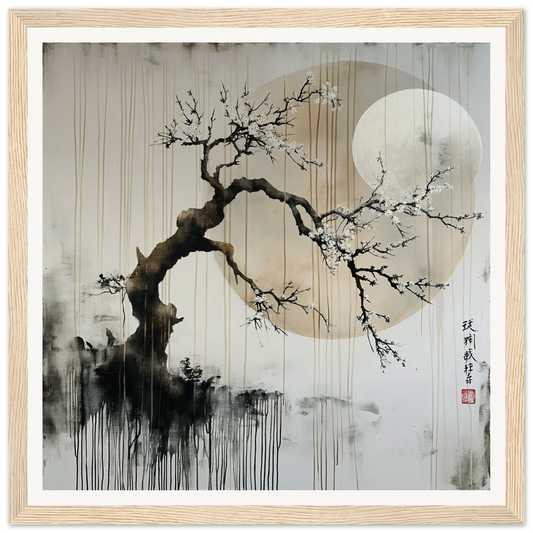
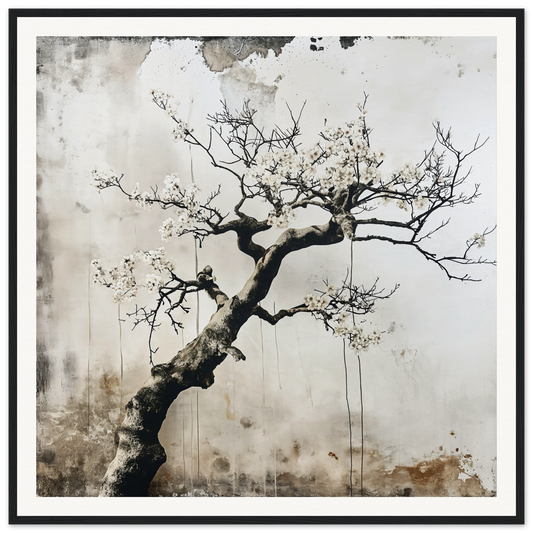
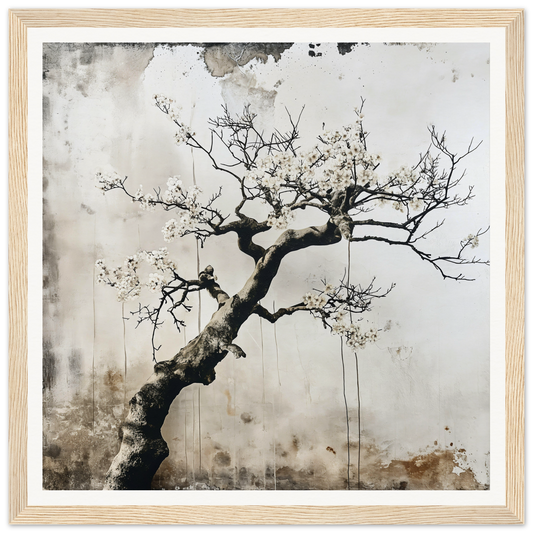
If you're looking for the aesthetic appeal of driftwood without the hassle of treating and handling raw wood, SPECIAL EDITION ART Shop offers high-quality driftwood print art. These framed, minimalistic or rustic oceanic prints are unique, AI-generated, one-time editions that will transform any space without the mess.

Why Treat Driftwood?
Treating driftwood is crucial to remove any bacteria, insects, and salt that may be embedded in the wood. Proper treatment ensures that your driftwood is safe to bring into your home and will preserve its natural beauty for years to come. Plus, treated driftwood can be used in various room decor projects, from wall hangings to centerpieces.
Materials You'll Need
Before you begin the treatment process, gather the following materials:
- Driftwood pieces
- Soft-bristle brush
- Bucket or large container
- Bleach
- Water
- Rubber gloves
- Sandpaper (optional)
- Clear wood sealant or varnish
- Old towels or drying rack
Alternatively, skip the supplies and consider a hassle-free option with SPECIAL EDITION ART Shop's driftwood prints, which require no treatment or maintenance.
Step-by-Step Guide to Treating Driftwood
Step 1: Cleaning the Driftwood
Start by removing any visible debris and dirt.
- Brush Off Debris: Use a soft-bristle brush to remove sand, dirt, and loose bark from the driftwood.
- Rinse with Water: Rinse the wood under running water to wash away remaining particles.
Step 2: Sanitizing the Driftwood
This step eliminates bacteria, mold, and pests.
- Prepare Bleach Solution: Mix one part bleach with nine parts water in a large container.
- Soak the Driftwood: Submerge the driftwood completely in the solution. Wear rubber gloves for protection.
- Soak Duration: Let it soak for 24 hours. For larger pieces, you may need to weigh them down to keep them submerged.
Step 3: Drying the Driftwood
Proper drying prevents mold and warping.
- Rinse Thoroughly: After soaking, rinse the driftwood with fresh water to remove any bleach residue.
- Air Dry: Place the driftwood on old towels or a drying rack in a well-ventilated area away from direct sunlight.
- Drying Time: Allow the wood to dry completely, which may take several days to a few weeks depending on size.
Step 4: Sanding and Finishing
Enhance the appearance and prepare the wood for sealing.
- Sand Rough Edges: Use sandpaper to smooth out any sharp or rough areas.
- Remove Dust: Wipe down the wood with a damp cloth to remove sanding dust.
- Apply Sealant: Coat the driftwood with a clear wood sealant or varnish to preserve it and enhance its natural colors.

Step 5: Incorporate into Your Decor
Your treated driftwood is now ready to be used in various DIY projects.
- Wall Art: Create a stunning piece of wall art by mounting the driftwood.
- Table Centerpieces: Use driftwood as a centerpiece adorned with candles or plants.
- Shelving: Convert larger pieces into rustic shelves.
Effortless Alternative: Choose a ready-to-hang driftwood print from SPECIAL EDITION ART Shop to enjoy the beauty of driftwood without any DIY work.
Incorporating Treated Driftwood into Room Decor
Treated driftwood adds a unique touch to various decor styles:
- Coastal Decor: Complement it with seashells and nautical elements.
- Rustic Style: Pair with earthy tones and natural fabrics.
- Modern Minimalism: Use as a statement piece against clean lines and neutral colors.
No Space for DIY? Our driftwood prints at SPECIAL EDITION ART Shop offer a minimalistic or rustic oceanic vibe that fits perfectly in any room.
Maintenance Tips for Treated Driftwood
- Dust Regularly: Keep the driftwood clean by dusting it with a soft cloth.
- Avoid Moisture: Place it in a dry area to prevent mold growth.
- Reapply Sealant: Refresh the protective coating every couple of years.
Hassle-Free Option: Driftwood prints from SPECIAL EDITION ART Shop require minimal maintenance—just occasional dusting.
Frequently Asked Questions (FAQ)
Q: Where can I find driftwood for DIY projects?
A: You can collect driftwood from local beaches (ensure it's legal) or purchase it from craft stores and online marketplaces. For a convenient option, consider driftwood prints from SPECIAL EDITION ART Shop.
Q: How long does it take to treat driftwood?
A: The entire process can take from several days to a few weeks, depending on the size and thickness of the wood.
Q: Can I skip the bleaching step?
A: Bleaching sanitizes the wood, removing harmful bacteria and pests. Skipping this step may risk introducing unwanted elements into your home.
Q: What if I don't have space to dry large pieces of driftwood?
A: If space is a concern, opt for smaller pieces or choose driftwood prints from SPECIAL EDITION ART Shop that require no drying time.
Conclusion
Treating driftwood is a rewarding process that allows you to bring a piece of nature into your home safely and beautifully. Whether you choose to undertake this DIY project or prefer the ease and unique artistry of SPECIAL EDITION ART Shop's driftwood prints, you can enhance your living space with the timeless appeal of driftwood.
By adding these unique wall decorations to your space, you'll create a home that's both stylish and reflective of your personal taste. Visit SPECIAL EDITION ART Shop today to discover the perfect driftwood art piece for your home. Happy decorating!
